


This guide provides clear instructions for adding, editing, and archiving departments within the system.
| ℹ️The following permissions are needed there: View a list of Departments Manage Departments |
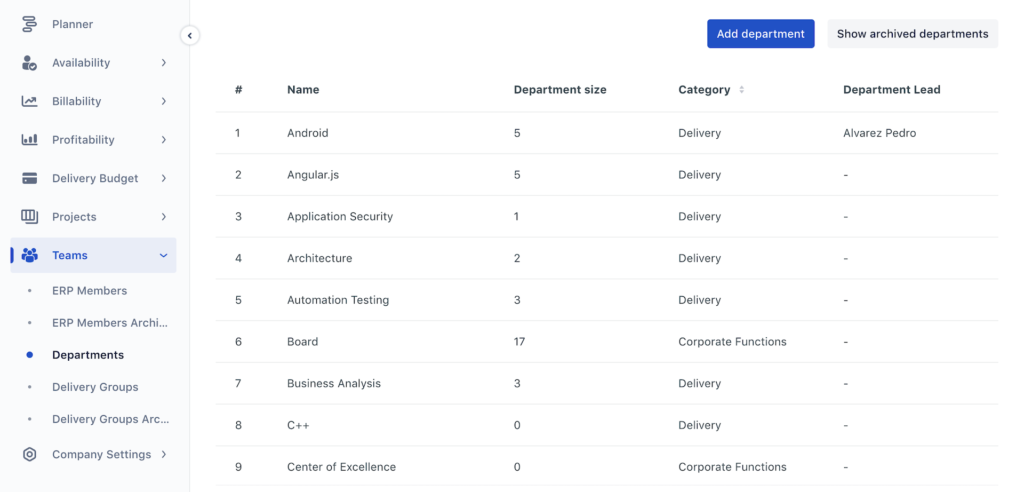
Adding a Department
- Navigate to Teams → Departments: Go to the “Teams” section and select “Departments.”
- Click “Add Department”: Begin the process by clicking the “Add Department” button.
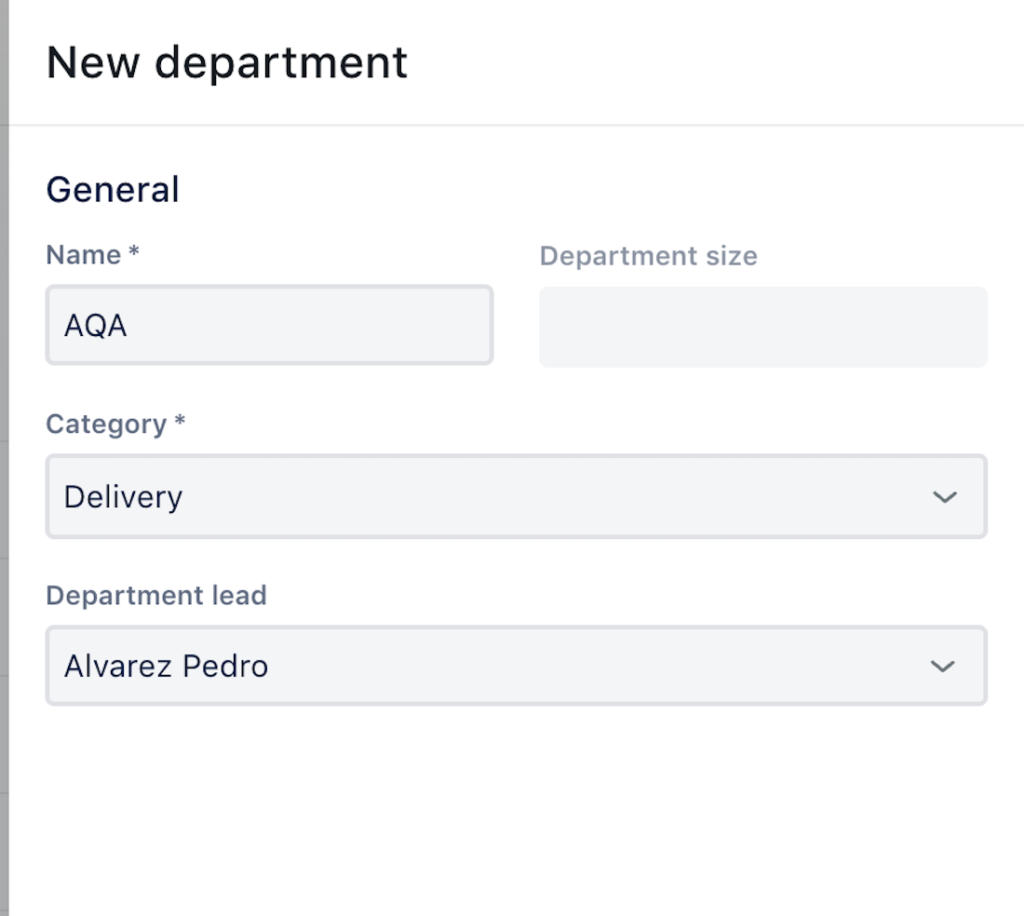
- Enter Department Name: Fill in the name of the new department.
- Select Department Category: Choose the appropriate department category from the dropdown list.
- Fill in Department Size: It will calculate automatically.
- Select Department Lead (Optional): If needed, select the department lead from the dropdown.
- Click “Send”: Submit the new department by clicking the “Send” button.
- Verify Creation: The newly added department will now appear on the Departments page.
Editing a Department
- Access the Department for Editing: Click on the needed Department row to open the department’s details.
- Modify Field Values: Update the necessary fields with the new information.
- Save Changes: Click “Send” to apply and save the changes.
Archiving a Department
- Access the Department for Archiving: Click on the needed Department row to open the department’s details.
- Click “Archive Department”: At the end of the form, click the “Archive Department” button.
- Confirm Archiving: Confirm the action to archive the department.
| 📓 A department cannot be archived if there are any worklogs, active members, or active requests/releases associated with it. |
By following these steps, you can effectively manage departments within the system, including adding new departments, making edits, and archiving departments when necessary.