


This guide provides the steps to create a request for an associate to fulfil a project need.
Creating a Request for an Associate for Project Needs
| ℹ️The following permissions are needed there: Request and release a team member View all requests and releases or View only my requests and releases |
- Navigate to the Availability → Requests Tab: Go to the “Availability” section and select the “Requests” tab.
- Click “Create Request”:
- Click on the “Create Request” button.
- Note: Ensure the project is already created before submitting a request for it.
- Fill in Project Details:
- Project: Select the project from the dropdown menu.
- Project Status: This is set automatically but can be changed if the assignment type (e.g., internal) differs from the default status.
- Project Manager: Select the project manager from the dropdown.
- Fill in Requested Member Details:
- Start and End Date: Set the start and end dates for the planned assignment.
- Planned Loading hrs/day or hrs/week: Enter the planned number of hours per week. This value will be used for assignment creation.
- Requested Type (Optional): Choose “Rotation” or “New Business” if applicable.
- Requested Member: Select a specific member if known, or select “any” if you need a general request.
- Department: If a specific member is chosen, the department will be set automatically. If “any” is selected, specify the department or type of service needed.
- English Level (Optional): Specify the English proficiency level required for the assignment.
- Grade (Optional): Indicate the grade level required for the role.
- Fee (Optional): Enter the maximum fee for the position, if applicable.
- Location (Optional): Add any location-specific requirements for the associate.
- Tech Stack (Optional): Provide details on the technology stack required for the project.
- Description (Optional): Add any additional information or details regarding the request.
- Click “Send”: Once all fields are filled in, click “Send” to submit the request.
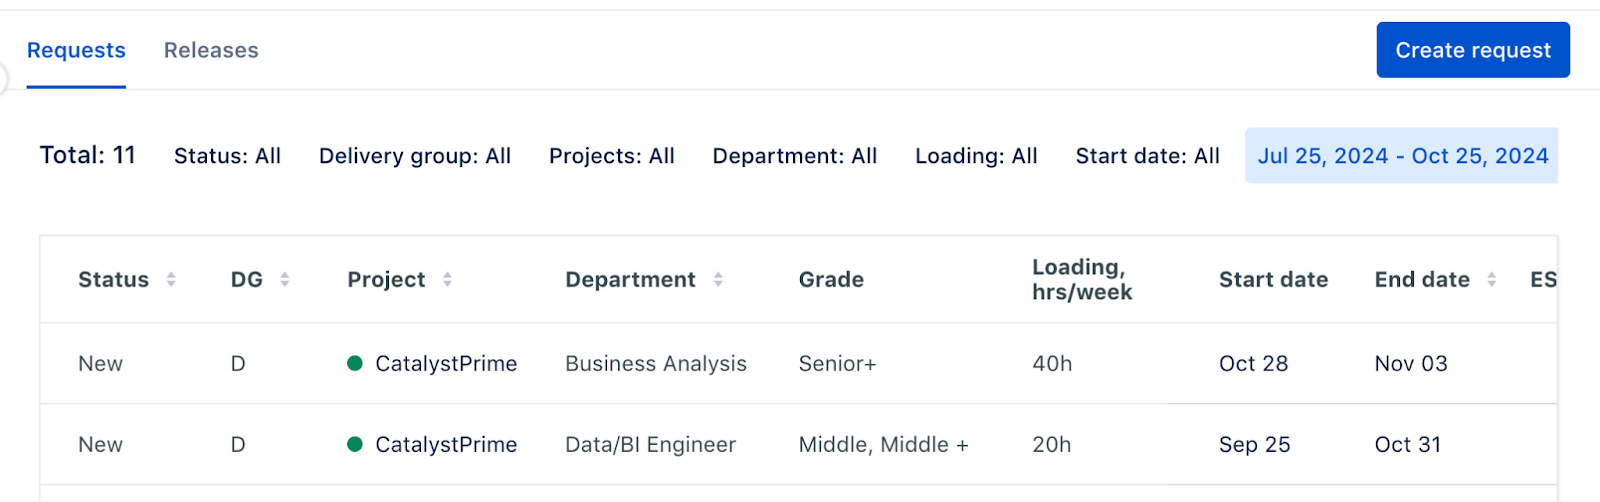
- Verify Request Creation: The new request will appear in the list on the Requests page.
If the request is created for a specific member, the assignment is displayed on the Planner. After approving the request, the assignment with the status that was set in Project Status will be active.